Showing posts with label welding. Show all posts

Saturday, July 5, 2014

Illuminated Tools: Getting Started

First I did 1:1 sketches of the tools.

 photo IMAG0955.jpg

 photo IMG_20140420_14114_edit_1398024719882.jpg

These aren't exact blueprints, just scaled examples of where the project is headed.

Since I've had a hard time finding high carbon steel in my area I used a local metal reseller for most of my steel. She had some nice new 4340 available in bars for $1.50/lb, so I cut that into coupons and tacked them together without any fill rod, and forge welded it into one block.

 photo IMAG0698.jpg

My first "forge" was a stack of fire bricks that I pointed my O/A torch into, I have since built a more respectable forge.

 photo IMAG0701.jpg

I built this small press to help with forging and forge welding, it uses a 20 ton air-over-hydraulic cylinder. It's a bit slow and I'll definitely build a better one when funds allow.

 photo IMAG0863.jpg

For the wrench I used a car coil spring, straightened and upset on one end. I used an air chisel to cut a slit in the upset, then opened it and wrapped it around a rod (sorry, no pics). Then I filed the open box by hand to fit a 3/4" bolt.

 photo IMAG0963.jpg

 photo IMAG0964.jpg

Then I forged a taper on the other end and cut 1/4"-20 threads, this is how the handle will be affixed.

 photo IMAG0988.jpg

Tuesday, April 23, 2013

Regrouping, Minimally

Following my ordeal trying to work with glass I still needed a minimalist sculpture for school. I had two steel frames already made, so I ran with them.


I had welded on tabs that were going to hold the glass sheets, but now they were unnecessary and unsightly.


But thankfully they were easy to remove.


After grinding and sanding off all the blemishes, I cut one corner off the larger frame and put it on top of the smaller one, and slightly at an angle.


Then welded on some quick feet to keep it upright.


And painted it matte black.

Before
After

And bam! Display In the courtyard.


UPDATE: This piece was very well received and I was invited to install it in a courtyard on campus, along with another student. It is also available for purchase.


Thursday, April 18, 2013

Lessons and Lacerations

Recently I teased about a new project I was starting, it involved large sheets of glass, approximately 34"x75".


These sheets were very generously donated to me by the Downtown Action Team, a great organization that has helped push out the drug addicts, beggars and fights that accompanied downtown Albuquerque in my youth and replaced it with a business and family friendly environment that I hope will continue to thrive.

This was going to be a minimalist sculpture, consisting of four sheets of glass standing straight up with only a base and no frames.

I hope it's obvious by now why I don't draw.
 Because the sheets are only about an 1/8 of an inch thick I decided that laminating two together would add enough strength to relieve my fears of a stiff breeze bending and breaking the sculpture.
To work with the glass I added extensions onto my workable to support the whole six-foot length.


Knowing that silicone caulking sticks tremendously to glass (both are silica-based after all) I decided that would make a great adhesive for laminating two sheets. But the caulk was WAY too viscous, I couldn't spread it or even get it off my tools our hands until it was cured.


May have ruined this sheet, haven't tried to scrape it off yet but I'm not hopeful.
Not being able to afford a more suitable adhesive in large quantity I decided to risk the project with only one sheet, or possibly use hardware to hold two together.

My original plan involved drilling through one end of the glass sheets so that the angle-steel could be bolted securely on. The plan also involved inserts in the glass holes and rubber washers to keep the hardware from damaging the glass.

Unfortunately, even with a Bosch carbide glass drill bit I didn't even make one hole before the glass broke.


It didn't just break either, it practically EXPLODED, I found shards of glass up to seven feet away from the near-end of the table. Thirty seconds of drilling cost me over three hours of cleanup time, and I'm still finding pieces every day. The dog certainly won't be allowed out there for a long time. While attempting this I had the glass well supported, the drilling area was bathed in water, and I went as slow as my drill could manage.

Changing gears again, I decided that I could put four sheets together in a vertical, rectangular prism with steel frames at top and bottom. Fabrication of the frames went famously, with some of my most precise (non-milled) cuts and best weld beads ever. Unfortunately, I was a little too precise and didn't allow room for the glass sheets to slide past each other during assembly.

I found this out when another sheet exploded in my hands, showering both myself and my partner (who was kind enough to be helping me when she should have been safe and cozy in the house) with tiny shards of glass that were stuck in both our hair and clothes. Thankfully, neither of us were injured.


At this point I decided that the material was too fragile and dangerous for me to continue experimenting with. I still have many sheets left to find another use for, but the minimalist sculpture will have to be achieved in a different way.

This has been a major learning experience for me, I'm used to working with metal, and wood to a lesser extent; materials that can be roughhoused and forced into compliance. If metal or wood needs a hole I drill it, if it needs to be smaller I cut or grind it. Glass is clearly a different kind of animal, it is entirely possible to manipulate it like the others, but the techniques and care needed are much more intensive. I could pay to have professionals do these things for me, but I can't afford that and paying someone else to do it really isn't the point of all this. So, like I  mentioned this glass will be used for something eventually, I just won't have such grand arrogant expectations of making it do my bidding.


Post Script:
By the way, while working with the glass I wore safety glasses the whole time, and while drilling and cleaning up the shards I wore a respirator, some particles were almost microscopic and only visible by a telltale glittering, this is NOT something you want to inhale. Despite my caution with the glass, I spent a lot of time welding in a tank top and was rewarded with a sunburn on one shoulder.


Arc welders like the MIG, TIG and 'stick' produce massive amounts of ultraviolet radiation, the same kind of radiation that comes from the sun and causes burns and cancer,  please be more careful than I was.


Thursday, March 21, 2013

Meat Pod: The Meatening


With the steel pieces formed, fitted, and clamped together, I tack welded a few spots inside to hold the whole structure together.

Ran out of MIG wire and had to oxyacetylene a few tacks.
Then I applied automotive body-filter putty to the interior to hide some seams, the interior of the outside texture, and the tack welds.


While the Bondo was curing I drilled holes along all the adjacent outer seams.


And started threading copper wire through the holes.


Once the Bondo had set I sanded it roughly and sponged black paint over the whole interior.


Then I glued in the silicone 'meat' I had made to the inside.


And it was ready to display, hanging from water pipes by copper and aluminum braided wire.


Needs more meat.


Thursday, March 14, 2013

So long Doc(s)

I think my Dr. Martens have officially bit the bullet. After the salvage yard excursion last week I came home with the enough sand in my shoes to build an island off the coast of Dubai, and it's not hard to see why:

That dark spot isn't a patch of really nice leather, it's my sock.


The Red Hot Ring of Steel only has one defense against its predator The Boot.


They're about five years old at this point, they were used for over three years working for a ceramics manufacturer, fixing all manner of equipment from kilns to megalithic man-murdering mixers, while building a railing I stepped on a ring just recently trimmed off of a pipe with a torch; I wore these when I was bicycling 20 miles a day to and from that very same job from November to February; I wore them while I was learning to ride a motorcycle, I've worn them while welding, mechanic-ing, gardening, carpenter-ing, standing in the cold for eight hours, and even to the gym. But it's time to retire these titans of footwear and let their descendants shoulder (or foot) the burden now.


Friday, January 18, 2013

Bicycle Trailer Part Deux

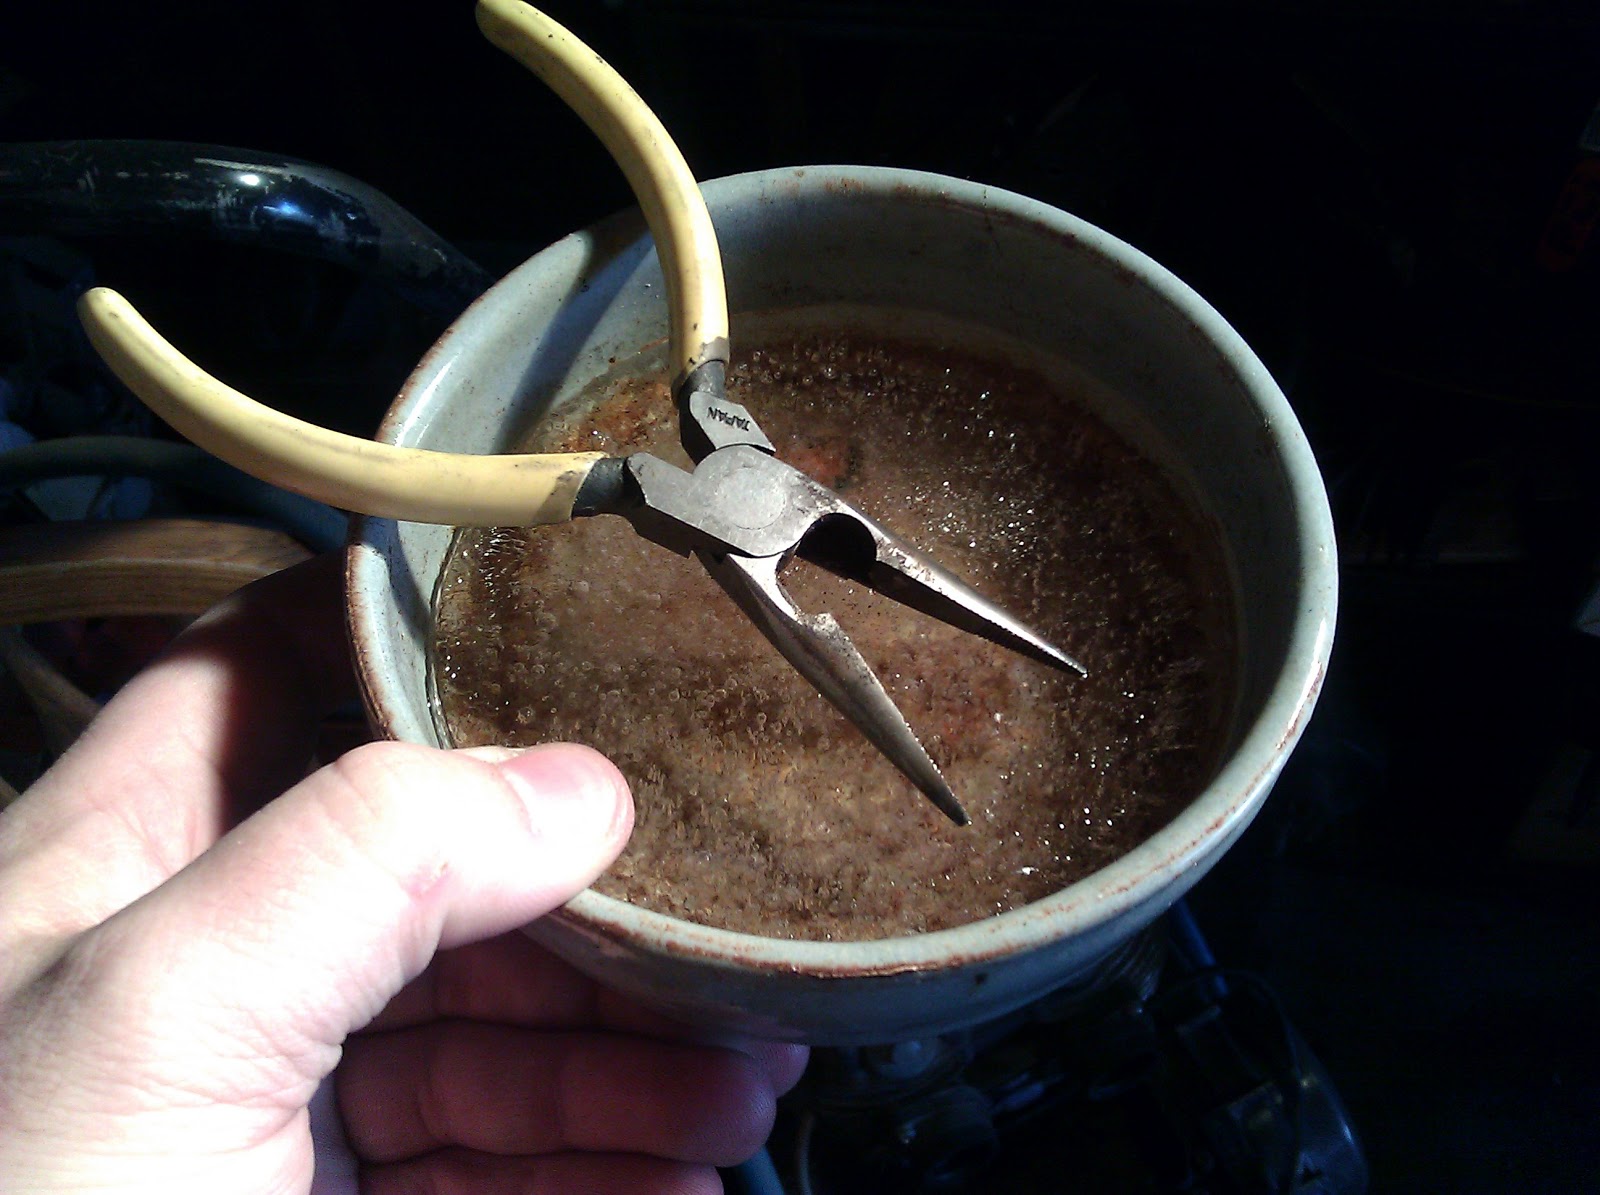
Went out to the garage and found that my quench bowl had frozen solid.


I won't bother to detail about why I haven't been out in my un-insulated, unheated garage lately. But I did finally get to work again, trying to finish my bike trailer.
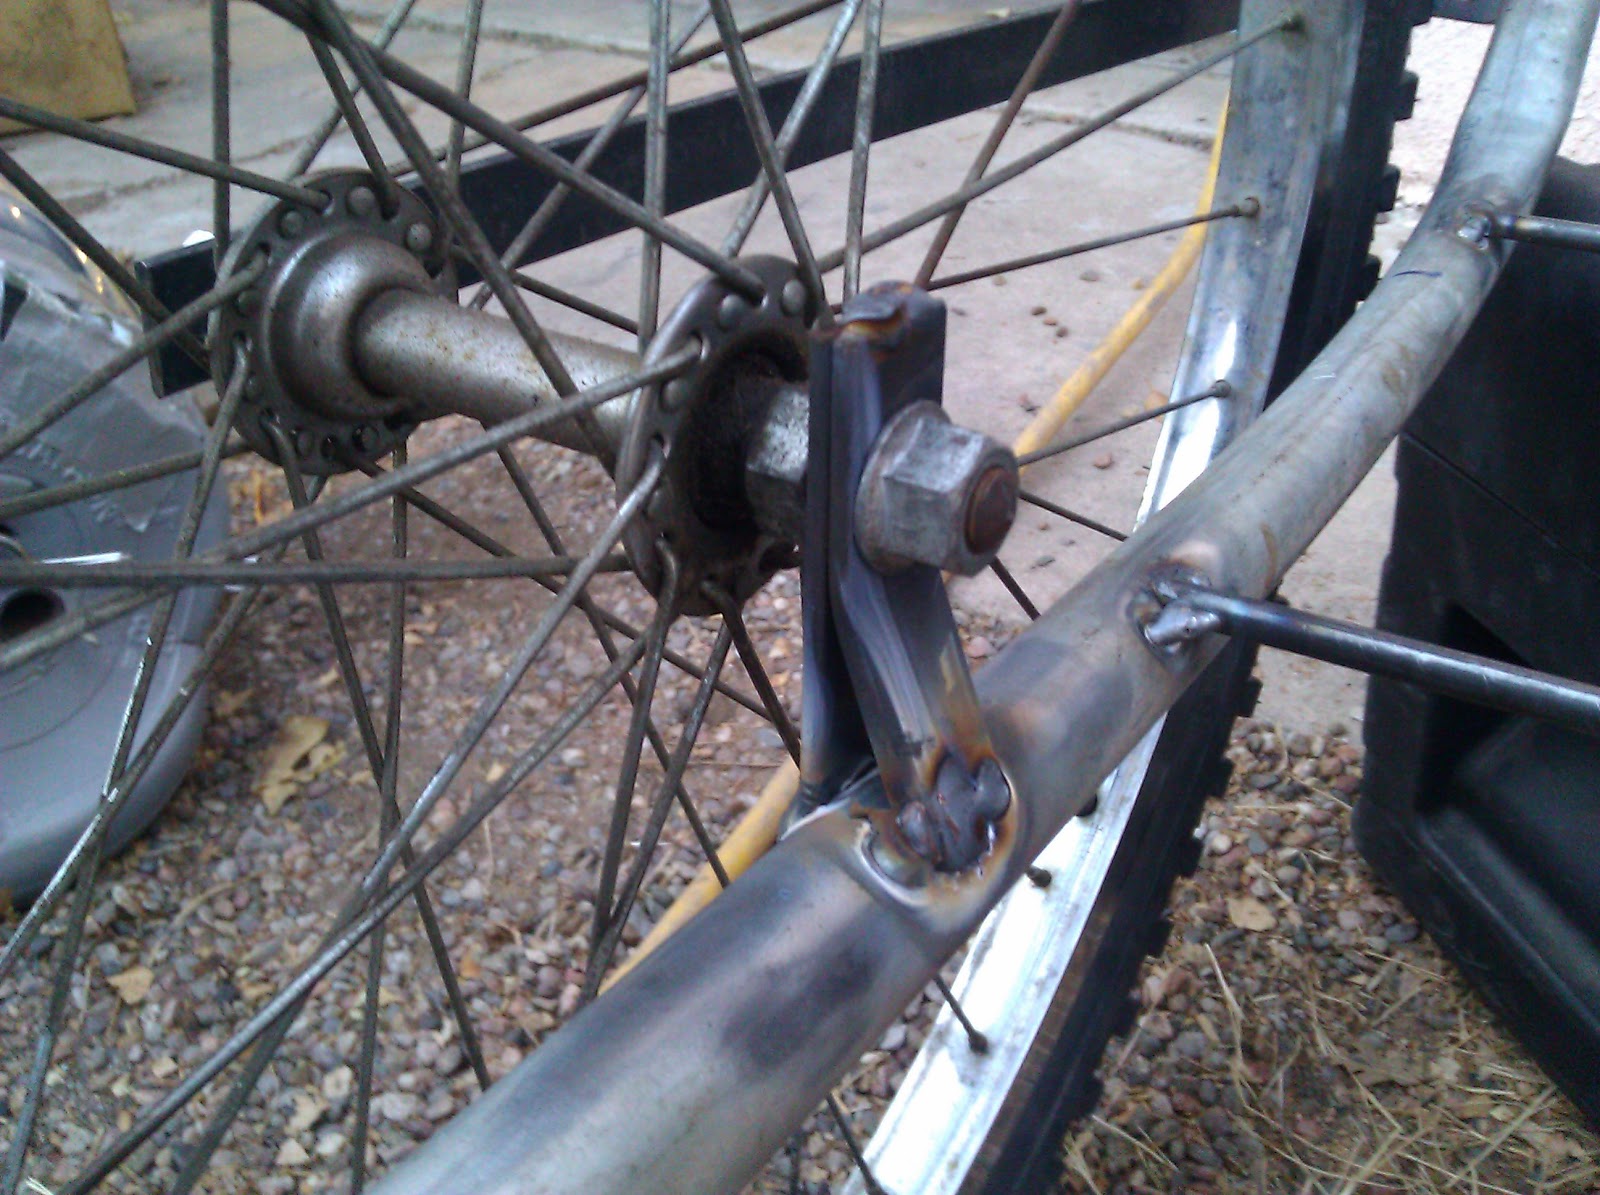
With the frame done I needed to attach the wheels, so I took two pieces of 3/4 by 1/8 inch steel strap, and bent them at the ends.


After bending these were welded to the back of the frame.


And a vertical bracket with a gusseted back was welded directly inboard from there.


The holes for the axle bolts are oval or elongated, so the wheels can be adjusted, the inboard bracket has vertical ovals and the outboard has horizontal ovals.


The wheels have been set "toe-in" for straight line stability.

Last thing left to do is work out a hitch.