Now I'm ready to start shaping the seat. I'll use a mandrel to bend the sheet to a starting radius which is hopefully close to my final goal.

It turns out my leg is just about the right shape.

You can see the metal is curved, but only in one direction.

It still looks flat in profile view. I want what is called a compound curve, which means it curves in two directions. To achieve this I'll use my planishing hammer, an air hammer which strikes the metal over a rounded die, some of which you see here.

The more rounded the die to the more shape you'll beat into the metal. One quick round with the hammer and the seat had tons of shape.

But stretching the middle creates a wavy, bacon-like effect on the edge, so I need to shrink the edge to keep it smooth. You can see here that the right side has not been shrinked and remains wavy, while the left side has been and has a nice curve to it.

After more hammer shaping, notice how the top middle has started extending further than the sides, compare to pic above, this is because I'm stretching the metal just behind that area (to the right in the picture) and the metal has to expand somewhere. This isn't a serious problem, it can be trimmed later, but it does illustrate one of the dangers of over-stretching:


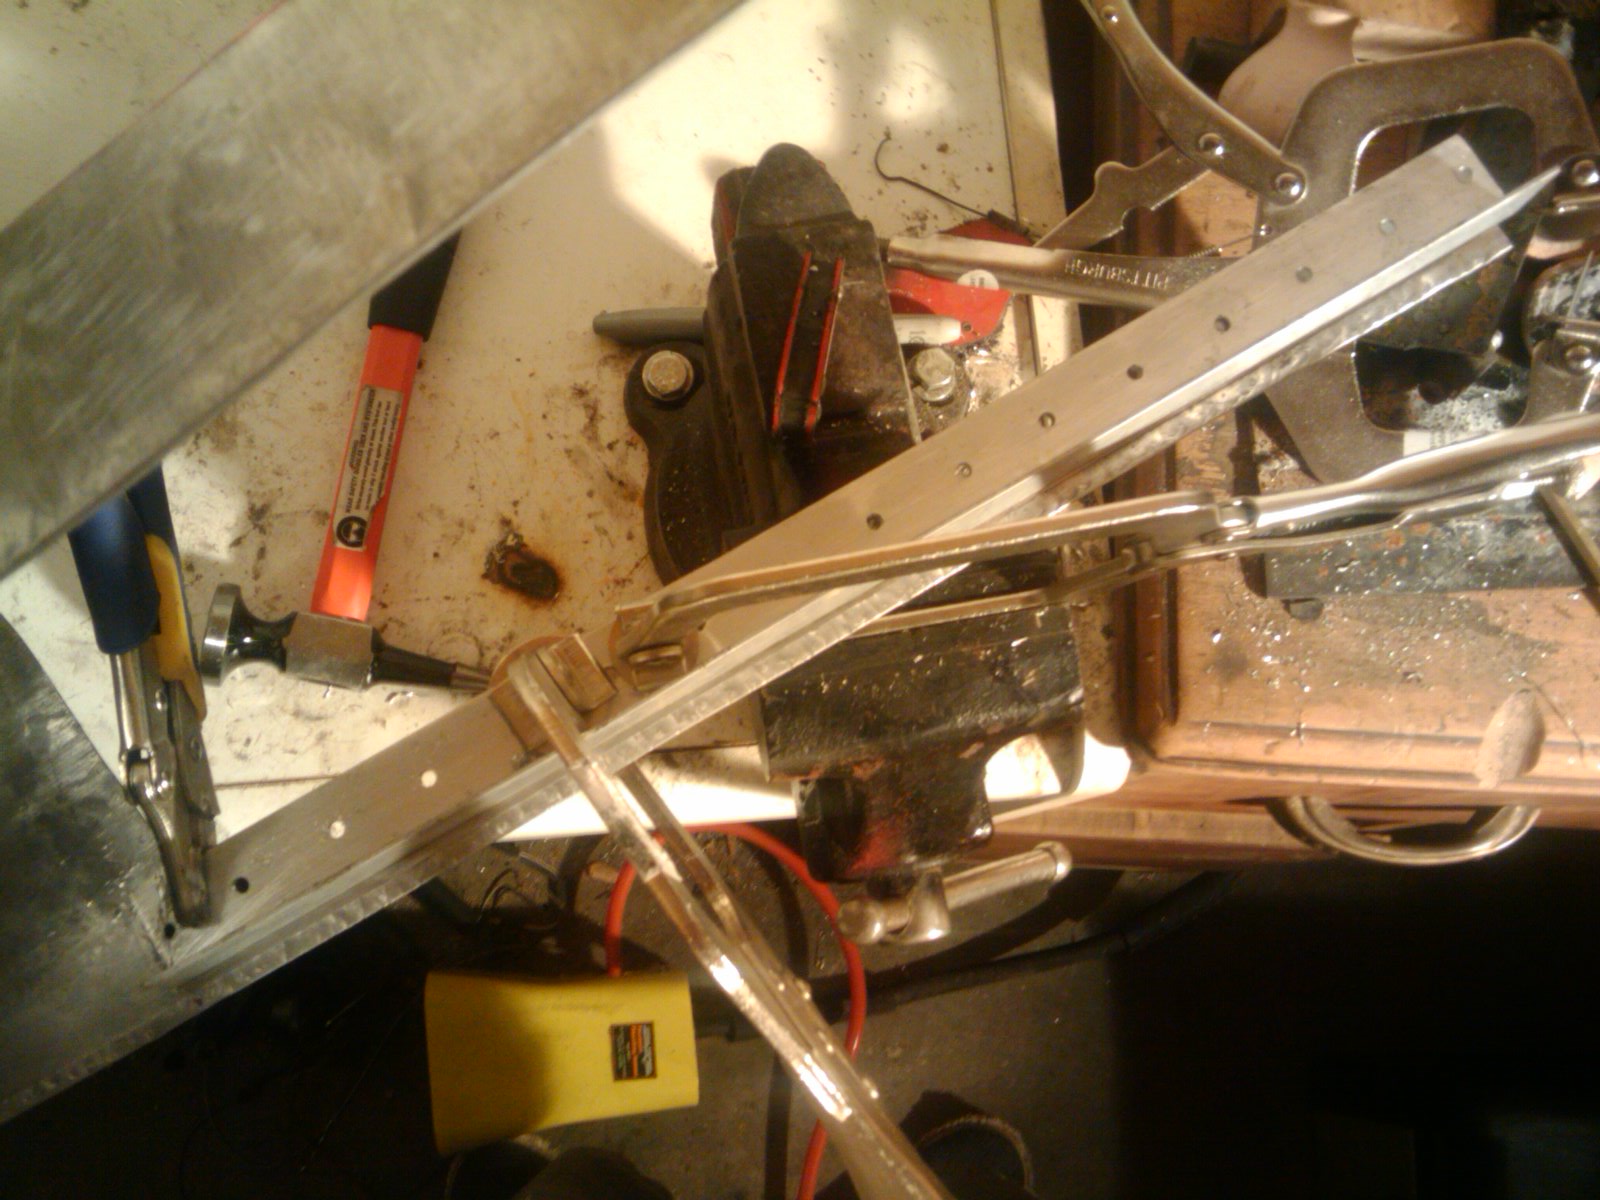
Now that the set has the shape I want, I'll start making the framework which will keep it sturdy enough to sit on and allow me to attach it to the bike. I'm making frame rails out of 1 inch angle aluminum.

I'll be attaching these with pop rivets so I drill rivet holes about every inch, trying (but not totally succeeding) to keep them level and perfectly spaced.
Then transfer the holes to the seat legs:
Ready to be attached!

No comments:
Post a Comment