The anticlimactic sand-boarding stunt!
Saturday, March 30, 2013
Thursday, March 28, 2013
Gone Shopping
Unfortunately, due to my own clumsiness, I broke my safety glasses.
 |
| They survived almost a hundred years on their own, and only five with me. |
While I look into replacing the safety lens I still need eye protection, so I made a trip to my favorite surplus store, and picked up a pair of these bad boys:
 |
| With a military surplus case. |
 |
| 33 cents per bit, the price is right. |
UPDATE: Those drill bits are not at all stronger than every other tiny bit I've ever
Tuesday, March 26, 2013
Sunday, March 24, 2013
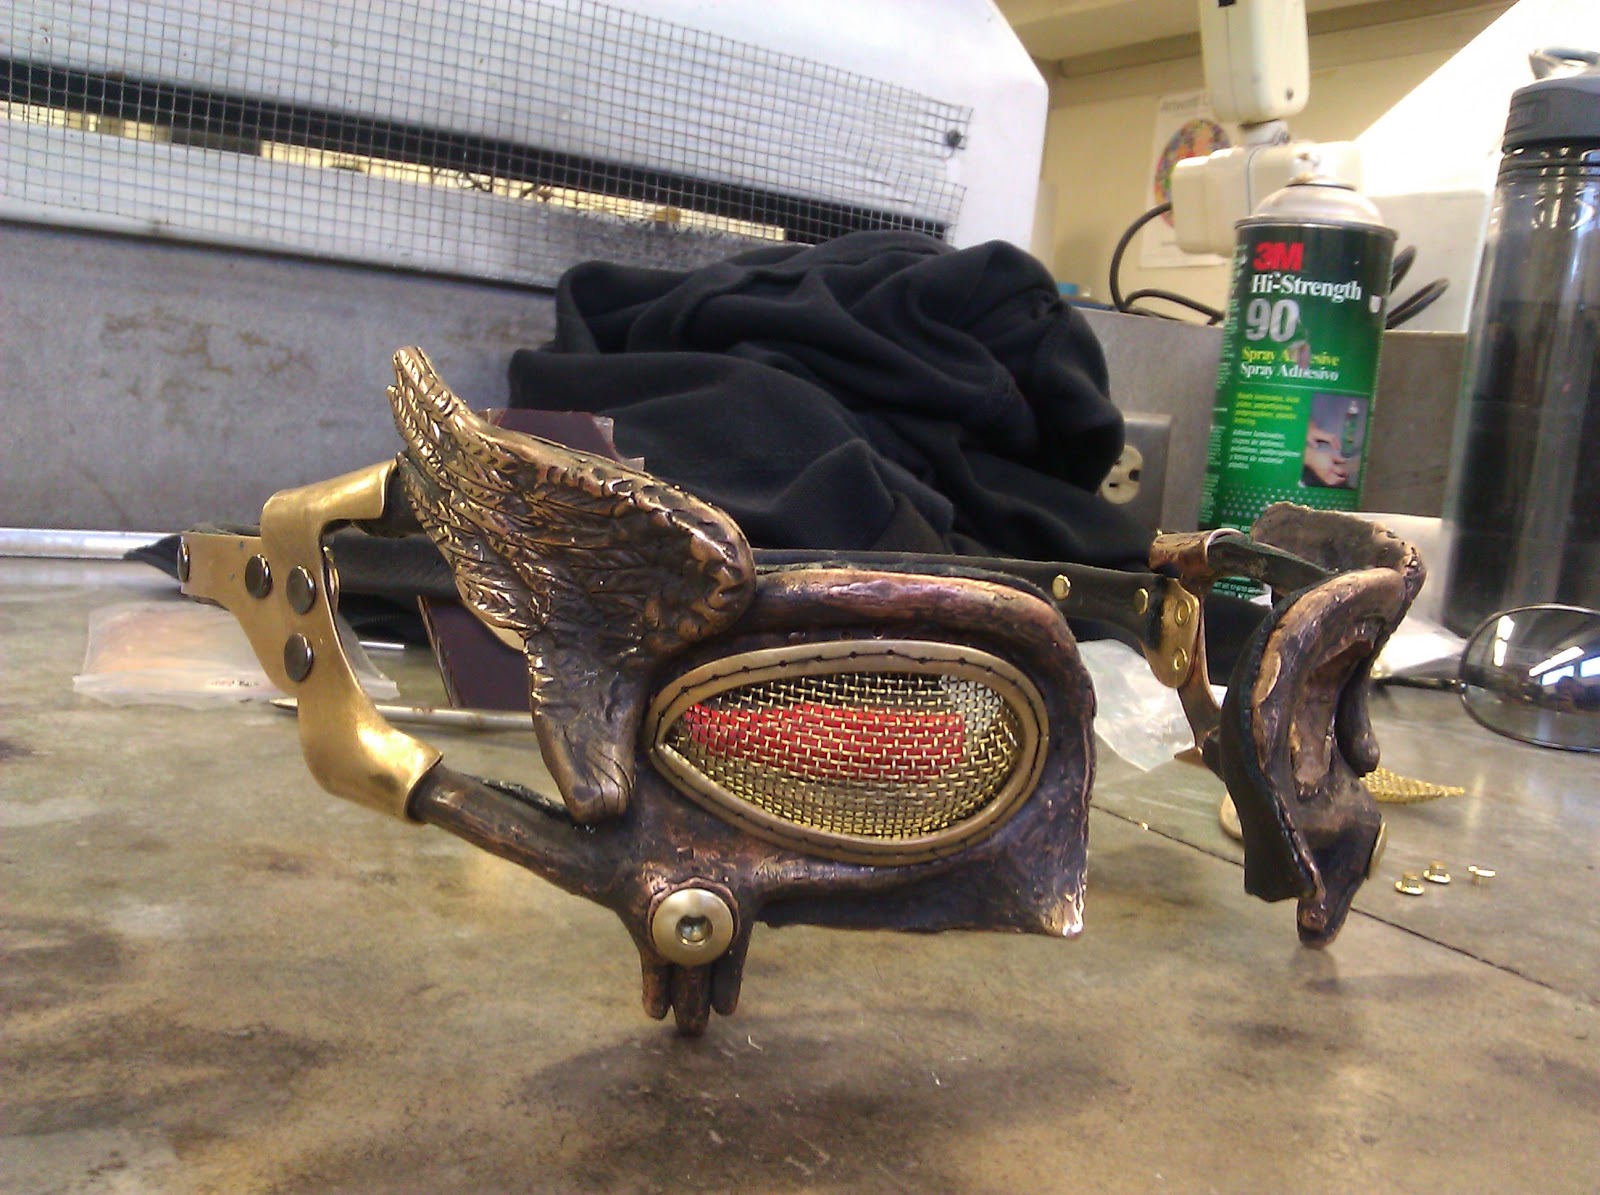
Dieselpunk Hero Goggles
 |
| Source |

I covered one surface with masking tape and, using a protractor and a square, I laid out the design on the block.
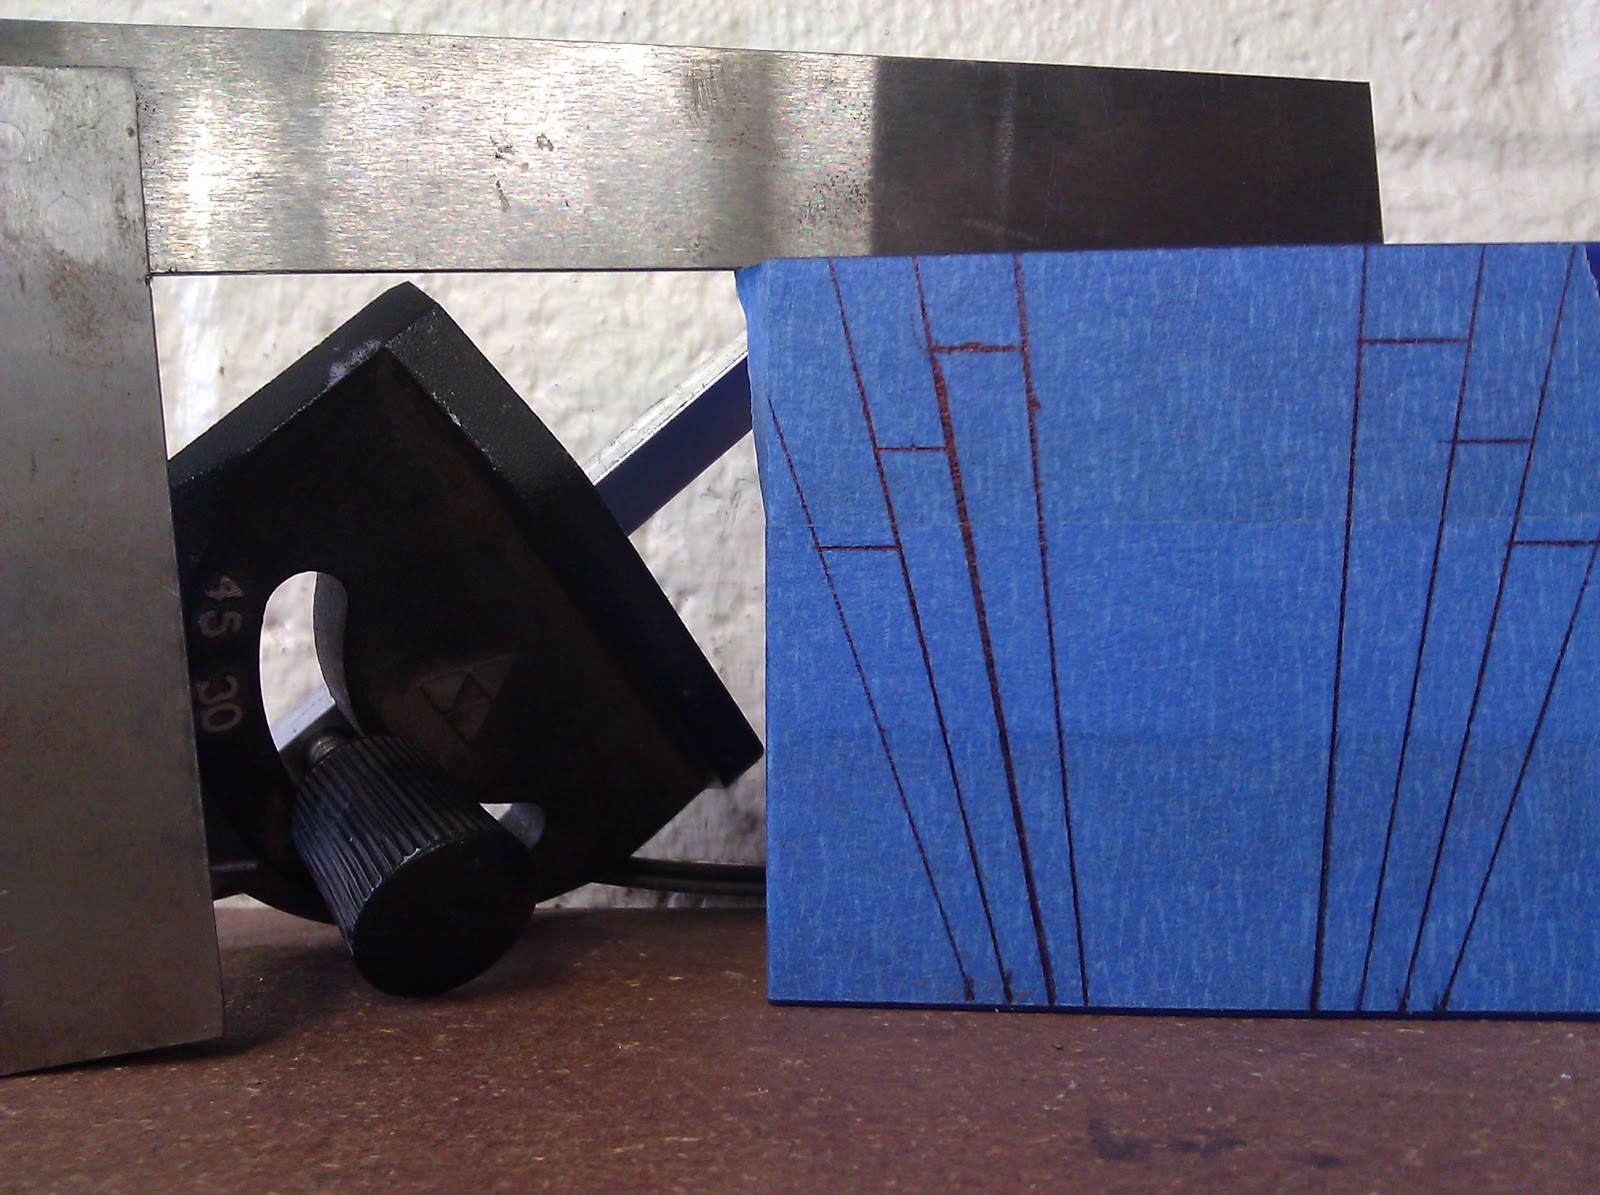
Then I cut through the lines into the wax beneath, transferring the design.

Next a put a high-speed burr into the drill press and used it like a milling machine, cutting away wax where I didn't need it and adjusting the height of the table for each layer.


Initially I was going to exactly replicate the source image, but once I saw the curved edges being left by the burr I decided they were more attractive and suited this piece better. After about half an hour and a big pile of wax shavings I had my design.


I used a hacksaw to cut it free from the rest of the block, and milled the back down to flat to hide my poor cut.


 |
| Not such a hot-shot with the hacksaw. |

The last thing I needed to do to the wax was pre-drill holes for the arms of the goggles to be riveted, this isn't mandatory but it's easier to drill the wax than the metal.

Then I cast it in bronze.

After cutting off the sprues and cleaning it looked pretty good.

So I applied a black patina and then buffed it back off, dramatizing the low areas.


Now I have all the bits made, and it's time for assembly.

Thursday, March 21, 2013
Meat Pod: The Meatening

With the steel pieces formed, fitted, and clamped together, I tack welded a few spots inside to hold the whole structure together.
 |
| Ran out of MIG wire and had to oxyacetylene a few tacks. |

While the Bondo was curing I drilled holes along all the adjacent outer seams.


And started threading copper wire through the holes.

Once the Bondo had set I sanded it roughly and sponged black paint over the whole interior.

Then I glued in the silicone 'meat' I had made to the inside.

And it was ready to display, hanging from water pipes by copper and aluminum braided wire.


 |
| Needs more meat. |
Meat Pod: In the Beginning
Assignment: utilize biomorphic and geometric forms to create an abstract sculpture.
I started with a 4' x 10' sheet of 22ga. cold rolled steel from Reliance Steel. Easily the most NEW metal I've ever bought or owned at one time.
Normally I would make patterns to decide what steel to cut, but this time I decided to wing it, in the name of biomorphism. I used the oxy-acetylene torch and cut random shapes.


With a pile of pieces to work from, I went to The Stump.

Using The Stump and a ball-peen hammer I made dents throughout the sheet.


Then I hammered the bumps back down, and as I did the metal started to gather up in areas, creating a unique texture.

Once all the pieces were hammered to my satisfaction, I rolled up the edges.


The edges let each piece butt up against another, so they could fit together.

Unfortunately they didn't fit together (it's like some idiot didn't make a pattern beforehand), so each piece had to be tweaked and bent to fit as well as possible to the next.


I started with a 4' x 10' sheet of 22ga. cold rolled steel from Reliance Steel. Easily the most NEW metal I've ever bought or owned at one time.
 |
| Ten feet is hard to photograph. |


With a pile of pieces to work from, I went to The Stump.

Using The Stump and a ball-peen hammer I made dents throughout the sheet.


Then I hammered the bumps back down, and as I did the metal started to gather up in areas, creating a unique texture.
 |
| I annealed the steel after the first round of hammering, the fire scale is evident. |

Once all the pieces were hammered to my satisfaction, I rolled up the edges.


The edges let each piece butt up against another, so they could fit together.

Unfortunately they didn't fit together (it's like some idiot didn't make a pattern beforehand), so each piece had to be tweaked and bent to fit as well as possible to the next.

Thursday, March 14, 2013
So long Doc(s)
I think my Dr. Martens have officially bit the bullet. After the salvage yard excursion last week I came home with the enough sand in my shoes to build an island off the coast of Dubai, and it's not hard to see why:


They're about five years old at this point, they were used for over three years working for a ceramics manufacturer, fixing all manner of equipment from kilns to megalithic man-murdering mixers, while building a railing I stepped on a ring just recently trimmed off of a pipe with a torch; I wore these when I was bicycling 20 miles a day to and from that very same job from November to February; I wore them while I was learning to ride a motorcycle, I've worn them while welding, mechanic-ing, gardening, carpenter-ing, standing in the cold for eight hours, and even to the gym. But it's time to retire these titans of footwear and let their descendants shoulder (or foot) the burden now.
 |
| That dark spot isn't a patch of really nice leather, it's my sock. |

 |
| The Red Hot Ring of Steel only has one defense against its predator The Boot. |

They're about five years old at this point, they were used for over three years working for a ceramics manufacturer, fixing all manner of equipment from kilns to megalithic man-murdering mixers, while building a railing I stepped on a ring just recently trimmed off of a pipe with a torch; I wore these when I was bicycling 20 miles a day to and from that very same job from November to February; I wore them while I was learning to ride a motorcycle, I've worn them while welding, mechanic-ing, gardening, carpenter-ing, standing in the cold for eight hours, and even to the gym. But it's time to retire these titans of footwear and let their descendants shoulder (or foot) the burden now.
Subscribe to:
Posts (Atom)