Starting today and through the month of December get 25% off your order at the Burning Beard Fab etsy store using the code THEOOHRAY.
Showing posts with label jewelry. Show all posts
Showing posts with label jewelry. Show all posts
Saturday, November 30, 2013

Sunday, November 24, 2013
Jewelry in Progress
Working on an assortment of new jewelry pieces for sale. Expect to see a big update to the store anytime now.


Sunday, October 20, 2013
New Castings Coming Soon: Cameo Jewelry and Sci-Fi Rayguns
I've been trying to build up some stock for two upcoming sale opportunities, a Dia de los Muertos themed pop-up store in downtown Albuquerque, and a crafty art fair at the University of New Mexico.
I've been making cameos based on molds and casting them in bronze and silver. These will become pendants, pins, rings and earrings.


I'm also making rayguns which will be cast in bronze as well.

Tuesday, March 26, 2013
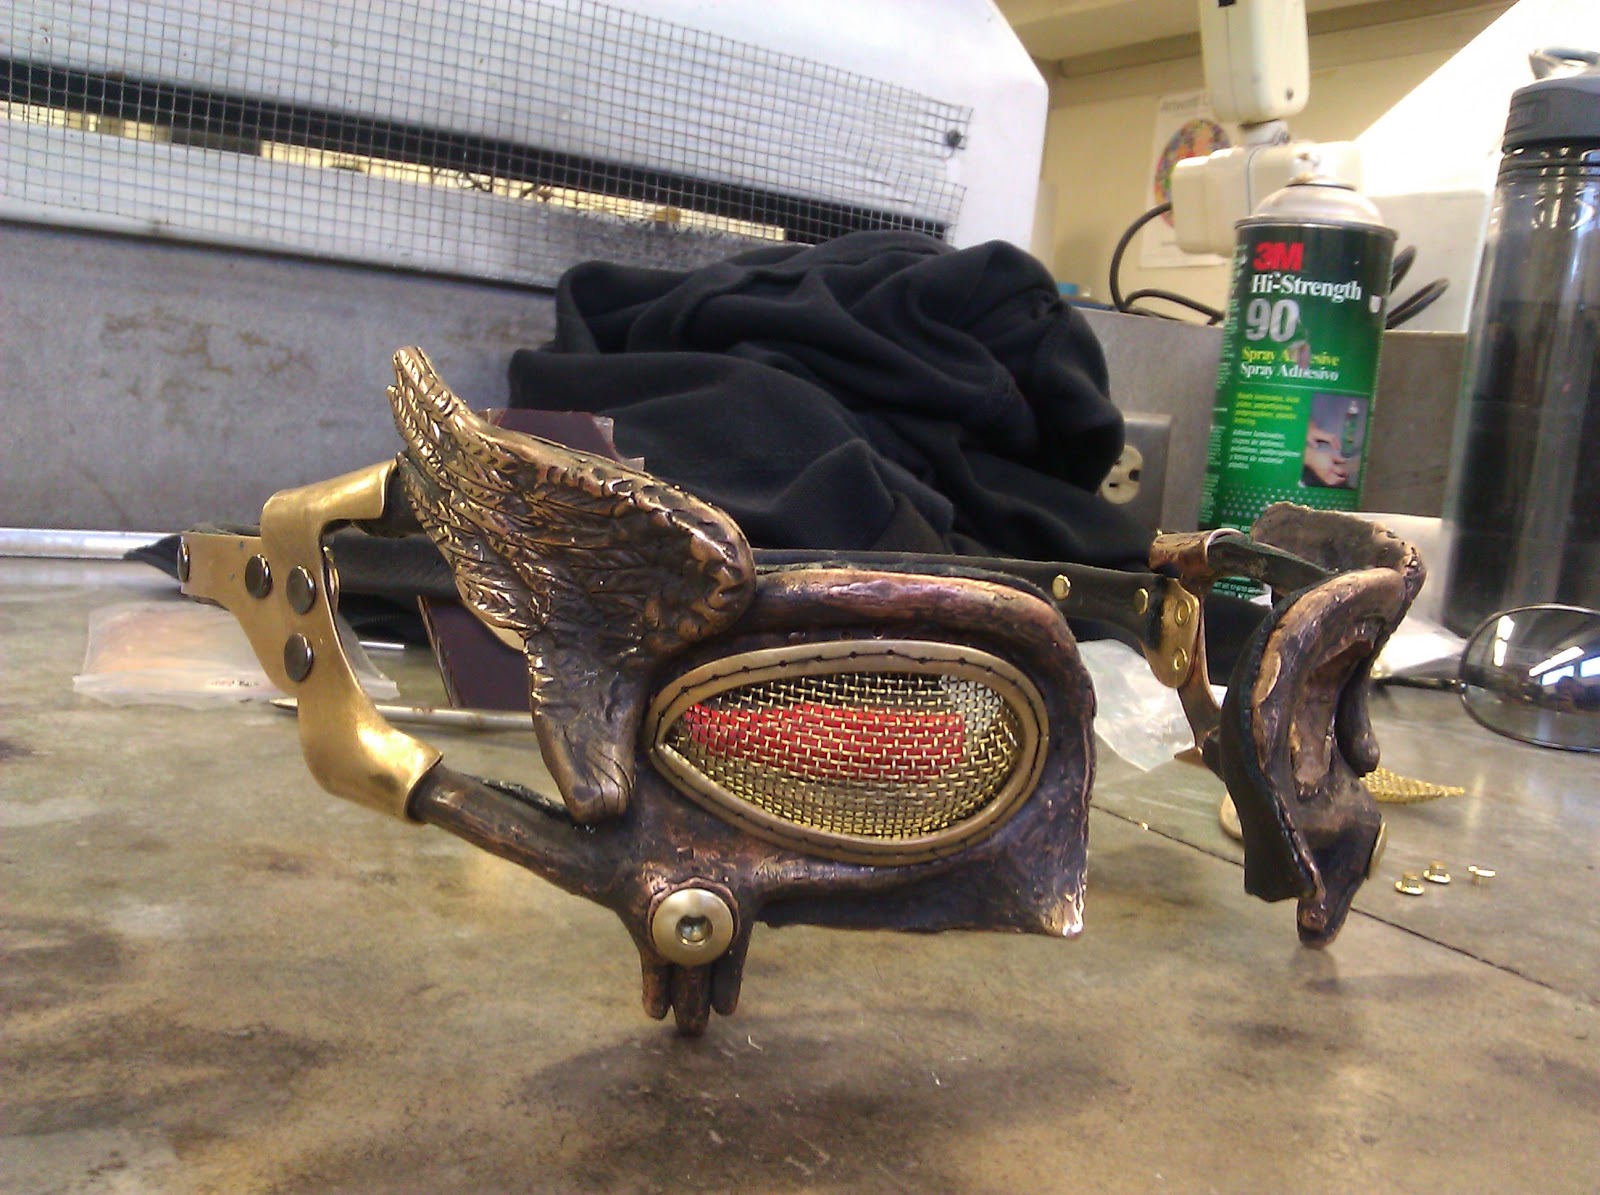
Sunday, March 24, 2013
Dieselpunk Hero Goggles
 |
| Source |

I covered one surface with masking tape and, using a protractor and a square, I laid out the design on the block.
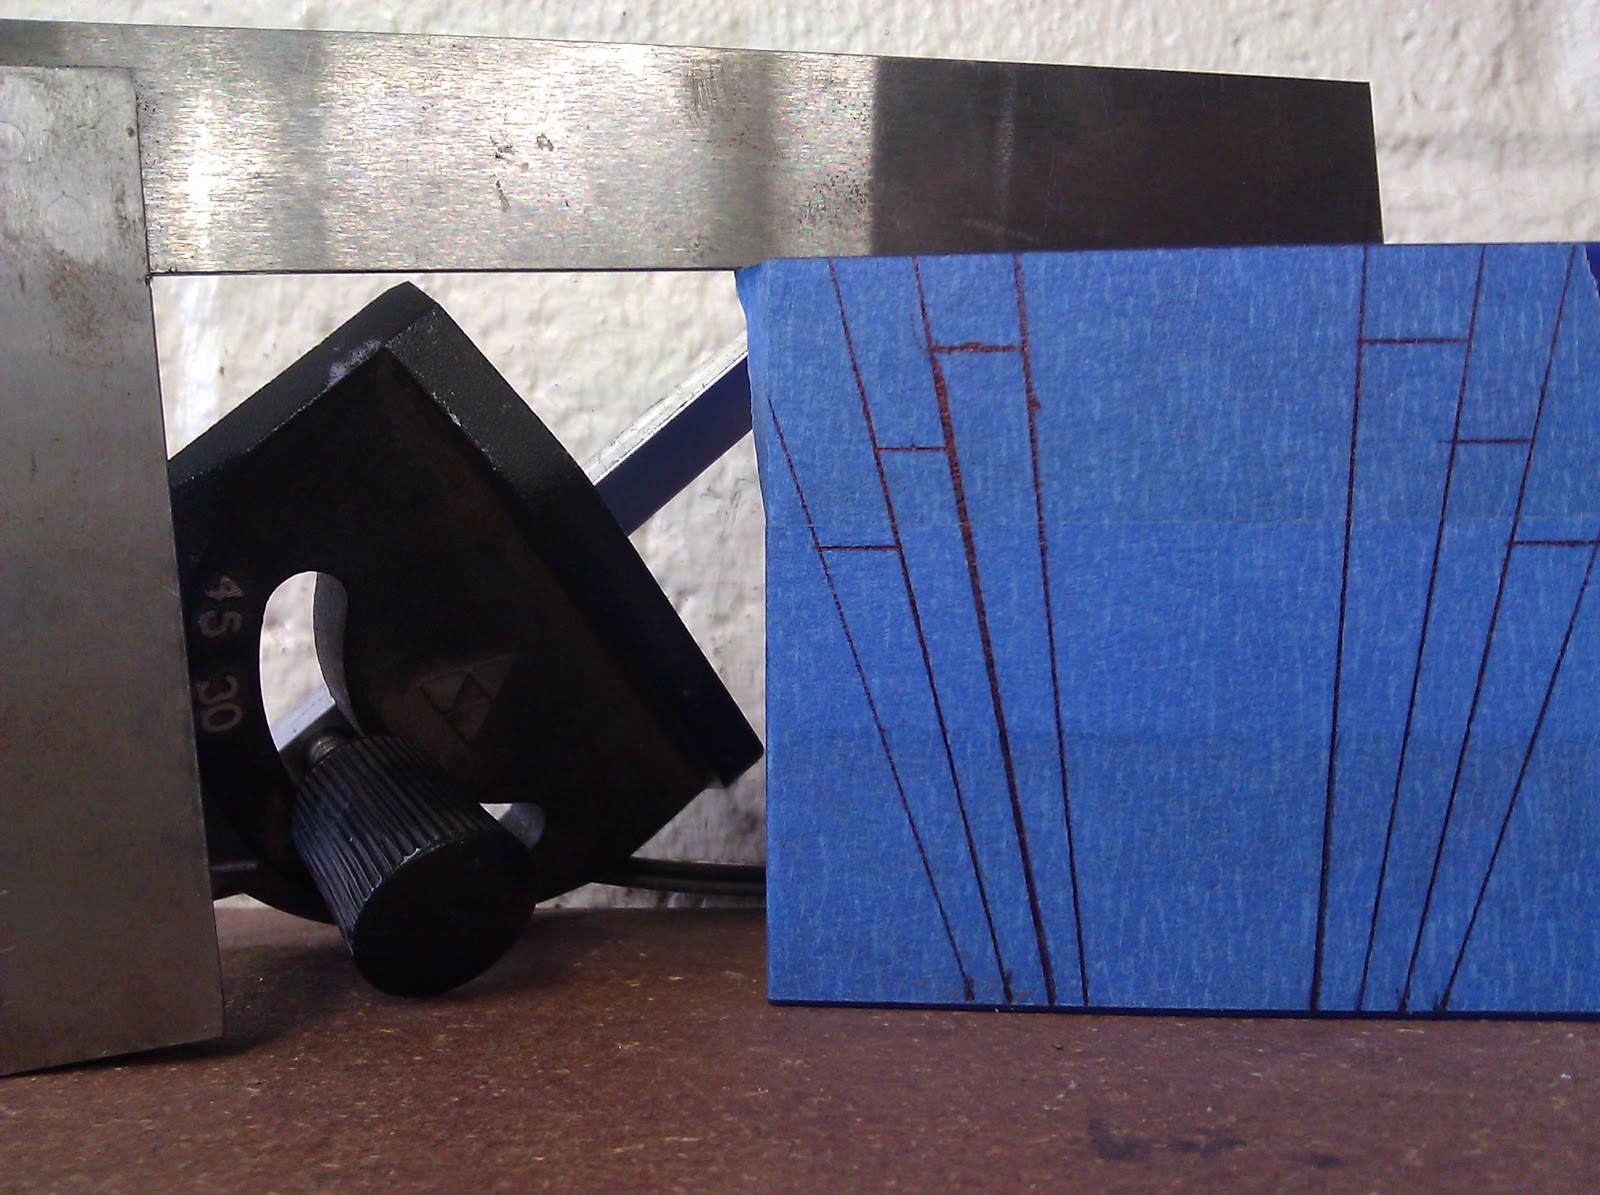
Then I cut through the lines into the wax beneath, transferring the design.

Next a put a high-speed burr into the drill press and used it like a milling machine, cutting away wax where I didn't need it and adjusting the height of the table for each layer.


Initially I was going to exactly replicate the source image, but once I saw the curved edges being left by the burr I decided they were more attractive and suited this piece better. After about half an hour and a big pile of wax shavings I had my design.


I used a hacksaw to cut it free from the rest of the block, and milled the back down to flat to hide my poor cut.


 |
| Not such a hot-shot with the hacksaw. |

The last thing I needed to do to the wax was pre-drill holes for the arms of the goggles to be riveted, this isn't mandatory but it's easier to drill the wax than the metal.

Then I cast it in bronze.

After cutting off the sprues and cleaning it looked pretty good.

So I applied a black patina and then buffed it back off, dramatizing the low areas.


Now I have all the bits made, and it's time for assembly.

Wednesday, March 13, 2013
Art Deco Dieselpunk Goggles
To make the arms of the goggles I riveted two pieces of brass together and sanded them to the same shape, then I drew the design I wanted onto the metal.

I used a jewelers saw to cut them apart.


Leaving them riveted together until I sanded the freshly cut areas so that they would stay identical

These pieces will attach to the brass brackets I made earlier.

Next I cut leather to back the arms with.

Unfortunately I cut two pieces for the same side. Oops.

The leather is side-specific because the texture is very different on each side, one is more like suede, but I want to smoother side to be visible and against the skin..


The arms were riveted to the brackets.

Then I traced the eye pattern onto the brass mesh and cut it out with hand shears.

One lens in place.

Tuesday, February 26, 2013
Art Deco (Dieselpunk?) Goggles
Brazed the wings to the goggle frames.


Made a bracket from brass, with soldered in plates that screw it to the frames.

Made brass lens bezels and re-applied the patina that burned when I brazed the wings on.


Wednesday, December 12, 2012


Subscribe to:
Posts (Atom)